What if one simple upgrade could make your laptop twice as fast while protecting your data better than ever? Modern solid-state drives aren’t just a luxury—they’re a game-changer for performance. But before you start swapping components, there’s a critical question: do you know how to prepare properly to avoid costly mistakes?
- Overview of SSD Upgrades for Laptops
- How to Install an SSD in Your Laptop (With Pictures)
- Preparing Your Laptop and SSD for Installation
- Cloning Your Hard Drive and Backing Up Data
- Step-by-Step SSD Installation Process
- Optimizing Your SSD Performance
- Common Tools and Accessories Needed
- Troubleshooting and Safety Tips
- Conclusion
- FAQ
Replacing a traditional hard drive with an SSD transforms your device’s speed and reliability. Unlike older drives with moving parts, these storage solutions boot systems faster, open apps instantly, and survive accidental drops. But compatibility matters—not every model fits all laptops.
This guide walks you through the entire process, from selecting the right tools to securing your data. You’ll learn why anti-static wrist straps are non-negotiable and how to confirm your device supports NVMe or SATA drives. We’ve also included visual aids to eliminate guesswork during installation.
Later sections cover cloning your existing drive and optimizing settings for peak performance. Whether you’re upgrading for work or gaming, follow these steps to ensure a smooth transition to your new storage powerhouse.
Key Takeaways
- SSDs deliver faster speeds and better durability than traditional hard drives
- Proper preparation includes checking laptop compatibility and gathering tools
- Anti-static gear prevents damage to sensitive components during installation
- Cloning software preserves your files and operating system during the swap
- Post-installation optimization maximizes your SSD’s lifespan and performance
Overview of SSD Upgrades for Laptops
Upgrading your device’s storage can unlock hidden potential you never knew existed. Modern drives eliminate sluggish performance while safeguarding your digital life against hardware failures. Let’s explore why this upgrade matters and how to confirm your machine is ready.
Benefits of SSD Over Traditional Hard Drives
Speed transforms everything. Unlike spinning disks, solid-state drives access files 5x faster. Your system boots in seconds, apps launch without lag, and large transfers finish before you blink. No moving parts also mean better shock resistance – perfect for mobile users.
Durability matters too. Traditional drives fail after 3-5 years on average. Flash-based storage lasts longer while using less power. You’ll notice longer battery life and quieter operation immediately.
Understanding Your Laptop’s Compatibility
Not all drives fit every machine. Check these three factors first:
- Physical dimensions: Most laptops use 2.5-inch SATA drives – but ultra-thin models often require M.2 cards
- Interface type: Confirm whether your device supports SATA III (6Gb/s) or NVMe (PCIe) connections
- Maximum capacity: Some older BIOS systems can’t recognize drives larger than 2TB
Manufacturer websites provide exact specifications. Match these details when shopping to avoid costly mismatches. Properly selected storage solutions streamline file management and prevent future headaches.
How to Install an SSD in Your Laptop (With Pictures)

Upgrading storage boosts performance, but precision matters most during installation. This process requires careful timing at critical moments to prevent data loss or hardware damage. Follow structured phases to ensure your new drive operates flawlessly from the first boot.
Three core stages define success: cloning existing data, swapping physical components, and optimizing settings. Each phase has strict time allocations:
| Stage | Time Required | Key Tools | Risk Factor |
|---|---|---|---|
| Data Cloning | 30-90 minutes | Software (EaseUS) | Low |
| Drive Swap | 15-25 minutes | Screwdriver | Medium |
| System Setup | 10-20 minutes | BIOS Access | High |
Cloning comes first. Specialized software duplicates your old hard drive’s contents exactly, including hidden system files. This preserves applications and personal settings without manual reconfiguration. Never skip this step – direct transfers between drives prevent boot errors.
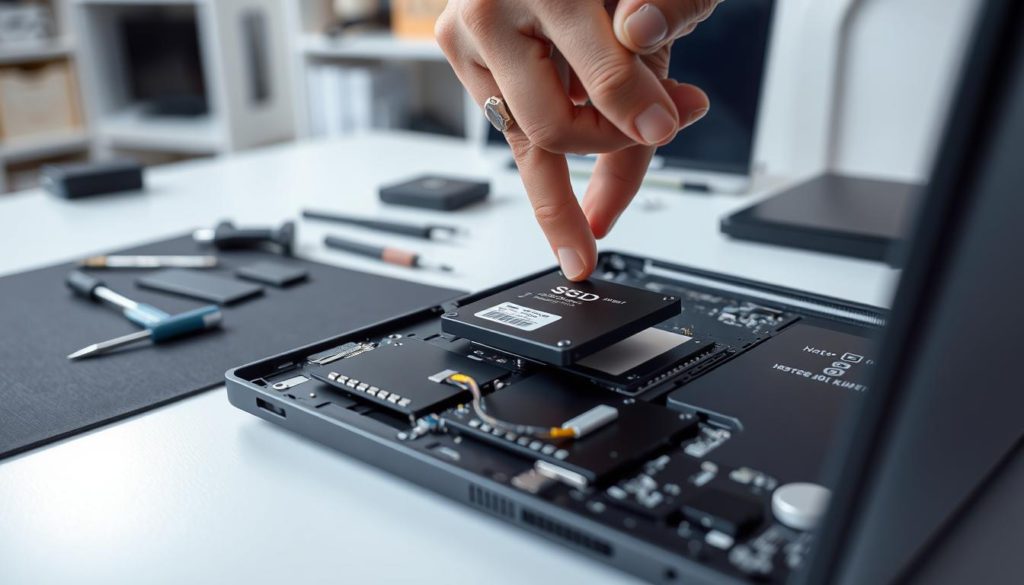
Physical installation follows after securing your data. Our visual guide shows exact screw locations and connector orientations. Handle components by their edges to avoid static discharge during these delicate operations.
Modern solid-state storage outperforms traditional hard drives in every metric. While older drives required frequent defragmentation, flash-based solutions maintain speed automatically. Proper installation ensures you reap these benefits immediately.
Preparing Your Laptop and SSD for Installation
Proper preparation separates successful upgrades from costly mistakes. Begin by powering down your device completely and unplugging all cables. Remove USB drives, charging cords, and peripherals to create a static-free workspace.
Gathering Necessary Tools and Accessories
Essential items make the process seamless. You’ll need:
- Phillips #00 screwdriver for panel removal
- USB-to-SATA adapter for data transfers
- Anti-static wrist strap (or grounded surface)
External enclosures help test your new drive before installation. Confirm your computer supports 2.5-inch or M.2 formats—ultrabooks often require specific SSD sizes.
Ensuring Proper Safety and ESD Precautions
Static electricity can fry components instantly. Follow these steps:
- Remove the battery if possible (check manufacturer guidelines)
- Touch unpainted metal surfaces to discharge static
- Work on non-carpeted floors using an anti-static mat
Double-check SATA compatibility through your laptop’s specs sheet. Some models need BIOS updates to recognize newer drives—visit the manufacturer’s website for firmware upgrades before proceeding.
Cloning Your Hard Drive and Backing Up Data

Protecting your files becomes critical before touching hardware. Imagine losing years of photos or work documents because of a failed transfer. Follow these safeguards to ensure your digital life remains intact during the upgrade.
Data Backup Options and Methods
Multiple layers of protection prevent disasters. Start by creating backups using:
- External USB drives for quick local copies
- Cloud services like Google Drive for off-site storage
- Network-attached storage (NAS) devices for large collections
Optical media works for small datasets but lacks modern convenience. Always verify backups by opening random files – corrupted archives defeat their purpose.
Using Cloning Software (EaseUS ToDo Backup)
EaseUS simplifies disk duplication without manual file transfers. Follow these steps:
- Connect your new drive via USB adapter
- Launch the software and select “Clone”
- Choose source and target disks
- Check “Optimize for SSD” under advanced settings
Shrink partitions if your current storage exceeds the SSD’s capacity. Right-click the system partition in Disk Management and select “Shrink Volume”. The software automatically adjusts file systems for optimal performance.
This method transfers Windows settings, installed apps, and personal files in one operation. Unlike fresh installations, you’ll avoid reactivation issues and desktop reconfigurations. Double-check both drives’ health status post-cloning to eliminate hidden errors.
Step-by-Step SSD Installation Process
Now comes the moment where precision meets action – the physical installation of your new drive. One wrong move could damage components or void warranties, so treat every step like a timed chess move. This phase demands equal parts patience and technical awareness.
Removing the Old Hard Drive and Disconnecting Power
Power down completely before touching internal parts. Follow this sequence:
- Unplug the charger and flip the device over
- Remove the battery (if removable) using the release latch
- Press the power button for 10 seconds to discharge residual energy
Locate the storage bay – usually marked with a drive icon. Unscrew the panel using a #00 Phillips tool. Gently disconnect the SATA/power cable from the old drive. Lift it out at a 30-degree angle to avoid bending connectors.
Installing the New SSD Into the Laptop
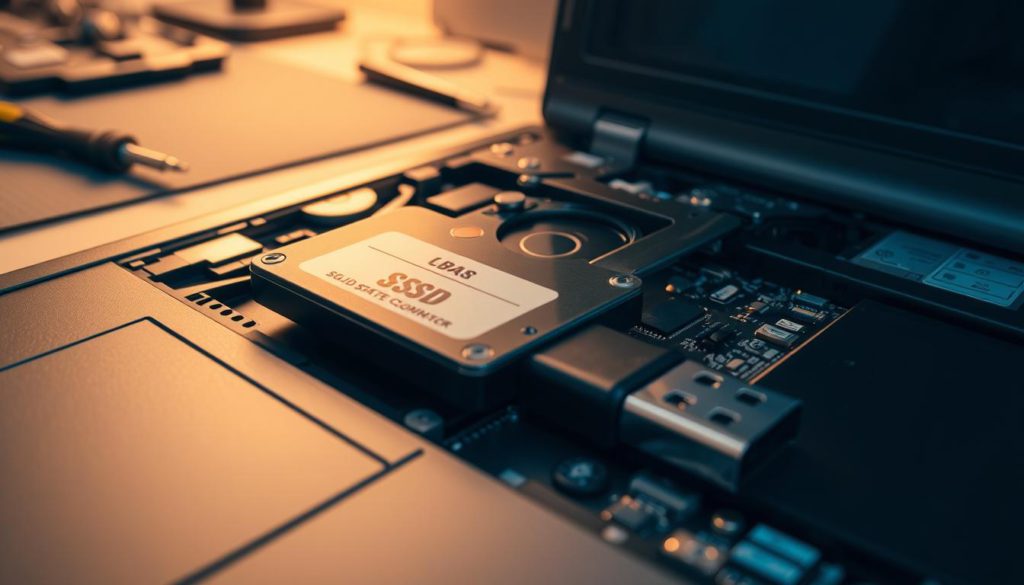
Align your replacement drive with the bay’s notches. Secure it with the original screws to prevent vibration damage. Critical checks before reassembly:
- All cables sit flush in their ports
- Drive doesn’t wobble when nudged
- Thermal pads (if present) contact the case
Reattach the access panel and battery. Power up while holding your breath – a successful BIOS detection screen means you’ve nailed it. If errors appear, revisit connections before panicking.
“Rushing hardware swaps breeds disasters. Treat each screw like it holds your data’s future.”
Double-check every component against your guide’s diagrams. Missing a single ground screw can cause overheating issues later. Proper installation ensures your upgraded machine handles workloads like a pro.
Optimizing Your SSD Performance
Your new drive’s true potential lies dormant until you fine-tune its settings. Proper configuration unlocks blazing speeds while extending its lifespan. Let’s explore essential adjustments that transform raw hardware into a well-oiled machine.
Adjusting System Settings for Maximum Efficiency
Windows requires specific tweaks for flash storage. Follow these steps to eliminate bottlenecks:
- Disable disk defragmentation (Settings > Storage > Optimize Drives)
- Enable TRIM command via Command Prompt: fsutil behavior set DisableDeleteNotify 0
- Confirm AHCI mode in BIOS for full SATA III speed
Manufacturers regularly release firmware updates addressing performance quirks. Check your SSD brand’s website quarterly. Pair these updates with capacity management – leave 15-20% free space to prevent slowdowns.
Third-party tools like CrystalDiskInfo provide real-time health reports. Windows’ built-in Optimize Drives tool handles basic maintenance automatically. For advanced users:
- Adjust virtual memory allocation
- Disable hibernation mode via Command Prompt
- Schedule regular SMART status checks
“Neglecting firmware updates is like buying sports tires but never inflating them.”
USB backups remain critical even with reliable storage. Pair automated cloud syncs with monthly manual backups to external drives. These steps ensure your upgraded machine stays fast and failure-resistant for years.
Common Tools and Accessories Needed
The right gear transforms complex upgrades into smooth operations. Whether replacing an old hard drive or boosting speed, having proper equipment prevents frustration. Let’s break down what you’ll need to install an SSD laptop upgrade efficiently.
Required Tools: Screwdriver, USB Enclosure, and More
Three items are non-negotiable for success:
| Tool | Purpose | Notes |
|---|---|---|
| Phillips #00 Screwdriver | Remove laptop panels | Magnetic tip prevents dropped screws |
| USB 3.0 Enclosure | Clone old hard drive | Supports SATA/NVMe formats |
| Anti-Strap Wristband | Prevent static damage | Ground to metal surface |
Your screwdriver must match laptop screw sizes – most models use #00 bits. USB enclosures let you test the drive ssd before installation. Always handle components by their edges to avoid fingerprint damage.
Optional Items: External Backup Drives and ESD Wrist Straps
External storage adds redundancy. Use it to create a second copy of critical files before cloning. ESD wrist straps offer extra protection against static shocks, especially in dry environments.
Follow these instructions to maximize safety:
- Store screws in labeled containers
- Clean workspace with microfiber cloth
- Keep pets/kids away during disassembly
Make sure your USB enclosure matches the drive ssd’s interface. Test connections before starting the cloning process. Proper tools reduce errors when handling delicate components like your old hard drive.
“A $10 screwdriver set often outperforms expensive kits for laptop upgrades.”
Double-check that all tools are within reach before opening your device. Missing one item mid-process forces unnecessary pauses. With everything prepared, you’ll swap drives faster than loading a video game.
Troubleshooting and Safety Tips

Even careful upgrades can hit snags. Recognizing common pitfalls ensures you’ll resolve issues quickly while protecting your hardware. Let’s tackle solutions for frustrating installation roadblocks and essential precautions.
Identifying and Solving Common Installation Issues
Drive not showing up? First, check Disk Management:
- Press Windows + X, select “Disk Management”
- Right-click the new drive and choose “Initialize Disk”
- Select GPT partition style for modern systems
If components feel loose, reseat connectors firmly. Misaligned M.2 drives often cause detection failures—remove and reinsert at a 30-degree angle. For cloning errors:
- Verify both drives are connected securely
- Update your cloning software to the latest version
- Test the old hard drive’s health using manufacturer tools
Preventing Static Discharge and Other Safety Concerns
Static electricity destroys electronics silently. You’ll need:
- Anti-static wrist strap clipped to grounded metal
- Non-conductive work surface (wood/plastic)
- All power sources disconnected for 5+ minutes
If data transfer stalls during cloning:
- Pause the process and restart your computer
- Disconnect unnecessary USB devices
- Try alternative software like Macrium Reflect
“Treat every component like it’s made of soap bubbles—gentle hands prevent 90% of upgrade disasters.”
Double-check screw tightness and cable orientation before reassembling. Most problems stem from rushed installations—methodical troubleshooting almost always reveals simple fixes. Stick to the guide, and your new drive will purr like a contented kitten.
Conclusion
Completing your storage upgrade marks a major leap in performance. From verifying compatibility to securing connections, each step ensures your new drive operates flawlessly. Post-installation checks like BIOS recognition and speed tests confirm everything works as intended.
Switching to SSDs revolutionizes daily computing. These modern disk drives eliminate mechanical delays, delivering near-instant app launches and file transfers. Your system gains longevity through shock resistance and lower power demands.
Always prioritize safety protocols. Anti-static gear and proper workspace setup prevent costly hardware damage. If issues arise, revisit connections or cloning software settings before panicking.
Remember: backups remain essential even after successful installations. Follow each step precisely, and you’ll unlock a smoother workflow. With your upgraded system, expect faster boot times and seamless multitasking for years.
FAQ
Will installing an SSD improve my laptop’s performance?
Yes. SSDs offer faster read/write speeds compared to traditional hard drives, reducing boot times and accelerating application launches. You’ll notice smoother multitasking and quicker file transfers immediately after installation.
How do I check if my laptop is compatible with an SSD?
Verify your laptop’s storage interface (SATA or NVMe) and physical drive size (2.5-inch or M.2). Check the user manual or manufacturer’s website for specifications. Most modern laptops support 2.5-inch SATA SSDs, while newer models may use M.2 NVMe drives.
Can I transfer data from my old hard drive without reinstalling Windows?
Absolutely. Use cloning software like EaseUS Todo Backup or Macrium Reflect to copy your operating system, files, and applications to the new drive. Ensure the SSD’s capacity matches or exceeds your current storage usage.
Do I need special tools to install an SSD in my laptop?
Basic tools like a Phillips screwdriver and an external USB enclosure or adapter are essential. Anti-static wrist straps are recommended to prevent electrostatic discharge. Some laptops require pry tools for casing removal—check your device’s repair guide.
What safety precautions should I take during installation?
Power off the laptop, disconnect the battery (if removable), and ground yourself to avoid static damage. Work on a clean, non-metallic surface and handle components by their edges. Avoid forcing connectors or screws during the process.
How do I optimize my SSD after installation?
Enable TRIM in Windows settings, disable disk defragmentation, and update firmware via the manufacturer’s software. Allocate 10-20% of the SSD’s capacity as free space for wear leveling and longevity. Avoid filling the drive to maximum capacity.
Can I reuse my old hard drive after upgrading to an SSD?
Yes. Place the old drive in a USB enclosure to use it as external storage or repurpose it as a secondary backup drive. Ensure sensitive data is wiped securely if you plan to sell or recycle the device.
