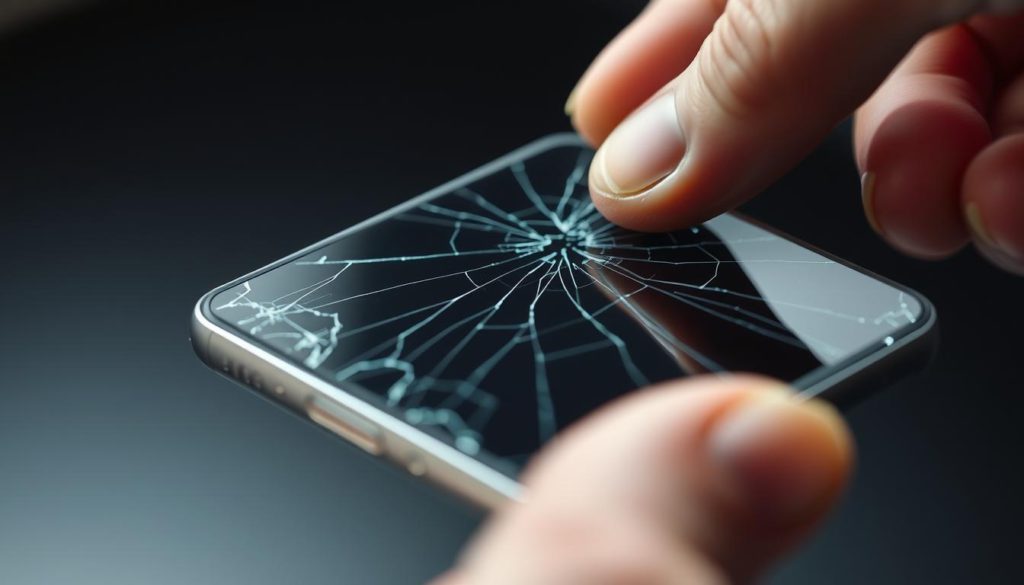
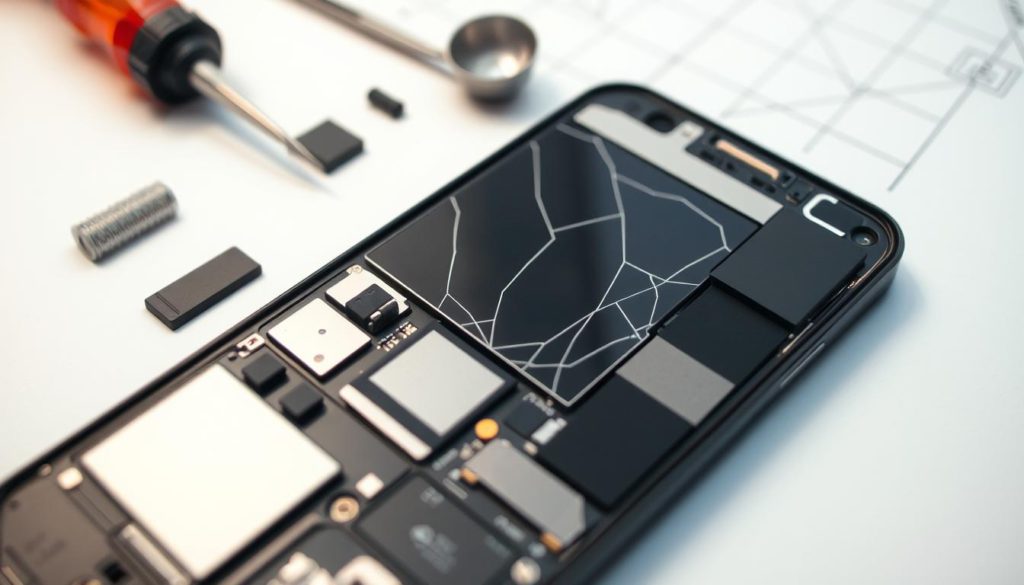
What if you could fix your shattered smartphone display in under an hour—without paying premium repair fees? Modern devices may look sleek, but their slim designs and edge-to-edge glass make them prone to cracks. A single drop can leave you staring at a spiderweb of fractures. Before you panic, let’s explore how understanding your device’s design and the right tools can turn this frustration into a solvable project.
Manufacturers prioritize aesthetics over durability, using thinner glass and minimal bezels. This trade-off means even minor impacts can damage your screen. But here’s the good news: you hold the power to restore functionality. With affordable kits and clear instructions, home repairs are more accessible than ever.
This walkthrough helps you assess the damage, choose between full replacements or temporary fixes, and avoid common pitfalls. You’ll learn why adhesive quality matters, how to handle delicate connectors, and when professional help becomes necessary. Ready to reclaim control over your tech?
Key Takeaways
- Modern smartphone screens crack easily due to slim designs and minimal protective bezels.
- Home repairs require specific tools like precision screwdrivers and quality adhesive.
- Assessing damage depth determines whether a full replacement or temporary fix works best.
- Right-to-repair laws are making replacement parts more accessible to consumers.
- Patience during disassembly prevents further damage to internal components.
Understanding the Fragility of Modern Phone Screens

Your sleek smartphone hides a delicate secret. To achieve their razor-thin profiles, manufacturers layer ultra-thin glass over flexible OLED panels. This engineering marvel sacrifices impact resistance for style—a trade-off that leaves your display vulnerable.
Design and Durability Trade-offs
Apple and Samsung use chemically strengthened glass, but physics dictates its limits. When impact occurs, elastic energy converts into fractures. Red Zombie’s analysis shows how thin layers amplify stress, creating spiderweb patterns even from minor drops.
Aluminum frames and zinc alloys try compensating, but they’re no match for concrete. The push for bezel-free designs removes protective borders, exposing edges to direct hits. Your device’s beauty comes at a cost—every millimeter shaved increases fragility.
Common Causes of Cracks
Daily risks lurk everywhere:
- Side impacts from waist-high drops
- Pressure from keys in pockets
- Temperature changes weakening adhesive bonds
Surface scratches act like fault lines. Over time, they deepen into visible cracks. Recognizing these triggers helps you evaluate repair options before tackling the fix yourself.
DIY Guide: Fixing a Cracked Phone Screen at Home

Before diving into repairs, accurate damage assessment separates successful fixes from costly mistakes. Start by cleaning the display with a microfiber cloth under bright light. Lay the device on a flat surface to spot hairline fractures often hidden by glare.
Assessing the Damage Effectively
Follow this three-step inspection process:
- Check touch responsiveness by swiping across all screen areas
- Look for color distortions or dead pixels on white backgrounds
- Test buttons, speakers, and cameras for collateral damage
Minor cracks near edges might only need stabilization. Deep fractures reaching the display matrix usually require full screen replacement. If your device randomly reboots or shows flickering, back up data immediately—these signal internal component issues.
Choosing Between Temporary Fixes and Full Replacement
Temporary solutions work best for superficial damage. Apply a tempered glass protector to prevent crack spreading. For deeper splits, clear packing tape offers short-term protection until parts arrive.
| Repair Type | Cost | Time | Longevity |
|---|---|---|---|
| Temporary Fix | $5-$15 | 10 minutes | 2-4 weeks |
| Full Replacement | $50-$200 | 1-2 hours | 1-3 years |
Compare DIY kit prices with local phone repair shop quotes. Kits often cost 40% less but demand technical skill. If your broken phone has OLED burn-in or unresponsive zones, professional repairs become essential.
Essential Tools and Materials for a Successful Repair
Gathering the right equipment transforms a daunting repair into a manageable task. Whether stabilizing minor cracks or replacing entire displays, your toolkit determines success. Let’s explore what you’ll need to restore functionality safely.
Screen Repair Kits and Replacement Screens
Quality kits include precision screwdrivers (Phillips #000 and P2), plastic spudgers, and suction handles. Look for packages containing replacement screens with pre-applied adhesive—these save 15 minutes versus manual glue application. Third-party suppliers like iFixit offer color-coded screw organizers to prevent mix-ups.
For temporary solutions, tempered glass screen protectors act as shields. Apply them immediately after cleaning cracks with isopropyl alcohol. In emergencies, clear nail polish can fill hairline fractures—apply thin layers and cure under UV light for 20 seconds.
| Essential Tools | Optional Add-ons | Local Store Finds |
|---|---|---|
| Precision screwdrivers | ESD-safe tweezers | Rubbing alcohol |
| Plastic opening tools | Heat gun (80°C) | Packing tape |
| Replacement adhesive | Magnifying lamp | Nail polish |
Additional Tools and Safety Measures
Work in a dust-free zone—bathrooms post-shower work well. Anti-static wrist straps prevent electrostatic discharge in modern devices. Use microfiber cloths to handle screens, avoiding fingerprints on adhesive surfaces.
Store small screws in labeled containers. Reputable electronics stores sell magnetic mats that prevent roll-aways. If replacing connectors, apply Kapton tape to secure ribbon cables—ordinary tape leaves residue.
Remember: Cheap tools bend screws and scratch frames. Invest in certified kits from trusted suppliers. Your phones deserve care matching their engineering.
Step-by-Step Repair Process and Testing Your Device

Restoring your device’s display requires precision and patience—two elements that separate successful repairs from costly mistakes. Begin by powering off the device and laying out tools on an anti-static mat. Work in a well-lit space free of dust or pet hair to prevent particles from compromising adhesive bonds.
Detailed DIY Repair Techniques
Follow this sequence for full replacements:
- Heat the edges at 70°C for 90 seconds to loosen adhesive
- Insert a plastic spudger between frame and screen, moving clockwise
- Disconnect battery before removing display connectors with tweezers
For temporary stabilization, apply clear nail polish along cracks. Use thin layers cured under UV light for 30 seconds each. This method may need repeating every 10 days to maintain integrity.
When reassembling:
- Align replacement screens perfectly before pressing edges
- Secure connectors with Kapton tape instead of regular adhesives
- Test buttons before sealing the frame
Verifying Functionality After Repair
Check touch response by drawing zigzags across the phone screen home area. Test brightness at maximum and minimum settings to spot dead zones. Open a blank white image to identify color distortions.
Conduct three critical tests:
- Swype-type across keyboard to check gesture recognition
- Play audio to confirm speaker functionality
- Inspect camera focus and flash synchronization
If issues persist, recheck ribbon cable connections. Some devices may need factory resets to recalibrate touch sensors. Always protect phone surfaces with tempered glass after repairs to prevent future damage phone incidents.
Conclusion
Repairing a damaged display teaches valuable skills but requires smart choices. You’ve learned to assess cracks, use precision tools, and test functionality—key steps in restoring your device. Always check your warranty status first, as some manufacturers void coverage for unauthorized repairs.
For deep cracks or internal damage, visiting a certified repair shop remains the safest option. Professionals handle complex issues like OLED panel replacements without risking further harm. Minor fractures, however, offer opportunities to save money and gain hands-on experience.
Weigh your options carefully: temporary fixes work for superficial damage, while full replacements demand technical confidence. Backing up data before any repair attempt prevents irreversible loss. If uncertainty arises during the process, consult a local shop for guidance.
Successful repairs extend your device’s life while building practical knowledge. By understanding all available options, you’ll make informed decisions tailored to each crack’s severity. With patience and research, you can tackle screen issues effectively—whether at home or through professional support.
FAQ
Can I temporarily fix a cracked screen without replacing it?
Yes, you can use a screen protector or clear nail polish to seal minor cracks. These methods prevent further damage but are short-term solutions. For deep cracks or malfunctioning displays, a full replacement is often necessary.
Will repairing my phone screen void the warranty?
It depends on the manufacturer. Brands like Apple or Samsung may void warranties if unauthorized repairs are done. Check your warranty terms before attempting fixes. Professional repair shops often use certified parts to preserve coverage.
How do I know if my phone needs a full screen replacement?
If touch responsiveness fails, colors distort, or glass shards risk injury, replacement is essential. Small scratches or surface cracks might only need a protector. Test functionality before deciding.
What tools are essential for a DIY screen repair?
A repair kit with pry tools, suction cups, and adhesive is critical. You’ll also need a heat gun or hairdryer, microfiber cloth, and safety gloves. Kits from iFixit or MobileSentrix include step-by-step guides for popular models.
Can a screen protector prevent future cracks?
Tempered glass protectors absorb impact and reduce scratch risks. However, they won’t stop major drops. Pair them with a sturdy case for better protection against cracks and internal damage.
Are third-party repair kits as reliable as manufacturer parts?
Quality varies. Some third-party screens lack color accuracy or durability. Look for OLED or Gorilla Glass options from trusted suppliers. For iPhones or Samsung Galaxy devices, OEM parts ensure compatibility.
What should I test after replacing my phone screen?
Check touch sensitivity, brightness, and color uniformity. Test buttons, speakers, and Face ID or fingerprint sensors. Ensure no light leaks or dead pixels exist. Run a diagnostic app like Phone Doctor Plus for deeper checks.
