Did you know your device’s most neglected component might also be its most vulnerable? Crumbs, dust, and sticky residues don’t just make typing uncomfortable – they can shorten your device’s lifespan and even harbor harmful bacteria. But what if the way you’re cleaning it right now is doing more harm than good?
- Understanding the Importance of Keyboard Maintenance
- Essential Materials and Tools for Keyboard Cleaning
- Preparing Your Laptop for a Safe Cleaning Session
- How to Clean Your Laptop Keyboard Without Damaging It
- Step-by-Step Guide to Remove Debris and Dust
- Deep Cleaning: Getting Under the Keys
- Alternative Cleaning Hacks and Tools
- Tips to Prevent Future Keyboard Damage
- Conclusion
- FAQ
A spotless keyboard isn’t just about appearances. Experts at Asurion confirm that regular maintenance prevents mechanical failures and keeps your computer running smoothly. Whether you’re dealing with coffee spills or pet hair buildup, the right approach matters.
This guide walks through professional-grade techniques anyone can master. You’ll discover how to create a safe workspace, choose tools like compressed air for stubborn debris, and use microfiber cloths without scratching delicate surfaces. We’ve also included a comparison of dry versus liquid cleaning methods – because water damage is 100% preventable.
Key Takeaways
- Proper keyboard care extends device longevity
- Always power down before cleaning
- Compressed air removes particles safely
- Microfiber prevents surface scratches
- Liquid techniques require precision
- Workspace prep avoids accidents
Understanding the Importance of Keyboard Maintenance
Every snack near your laptop deposits invisible enemies—crumbs, dust, and skin flakes—that settle between keys. Over weeks, these particles form a gritty layer beneath keycaps. Debris doesn’t just stick around; it grinds against delicate mechanisms with every keystroke.
“Ignoring routine cleaning is like pouring sand into a watch. The damage compounds silently until keys stick or fail entirely.”
Three main culprits threaten functionality:
| Debris Type | Common Sources | Removal Method |
|---|---|---|
| Food crumbs | Snacking, loose particles | Compressed air |
| Skin flakes | Natural shedding | Soft brush |
| Dust bunnies | Airborne fibers | Vacuum attachment |
Compressed air dislodges stubborn dirt without physical contact. A brush with nylon bristles sweeps away skin cells before they accumulate. Regular use prevents the gunk domino effect—where one stuck key leads to others malfunctioning.
Consistent care maintains optimal responsiveness and reduces wear on electrical contacts. Your fingers glide smoother, and your device lasts longer.
Essential Materials and Tools for Keyboard Cleaning

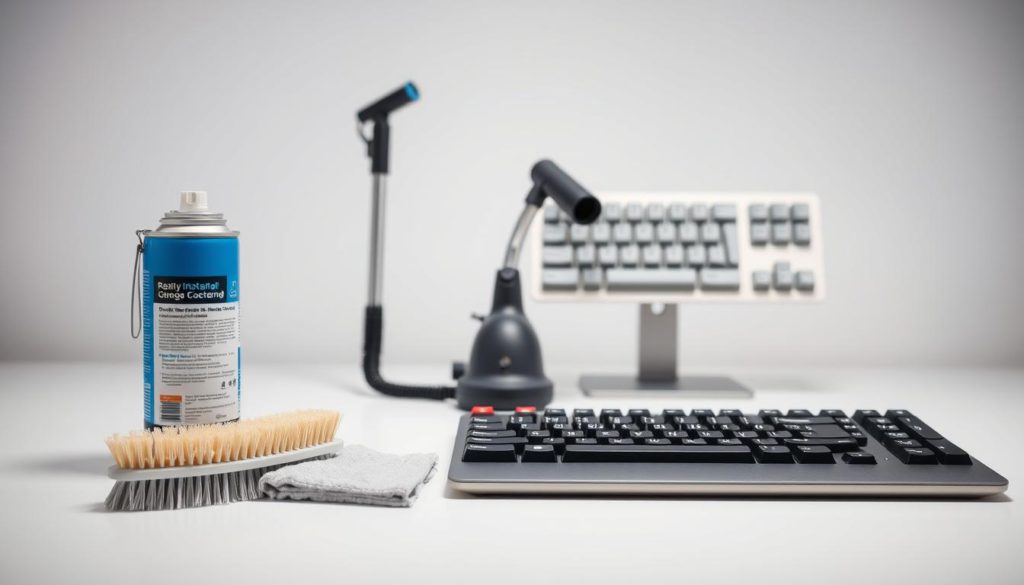
Your keyboard’s survival kit starts with four non-negotiable items. Compressed air, microfiber cloths, 70% isopropyl alcohol, and cotton swabs form the foundation of effective care. Soft paintbrushes or anti-static brushes also help dislodge stubborn particles.
Compressed Air and Microfiber Cloth
Canned air blasts crumbs from tight spaces without touching internal components. Hold the can upright to prevent liquid propellant from escaping. Pair it with a microfiber cloth—its ultra-fine fibers trap dust while protecting polished surfaces from scratches.
Isopropyl Alcohol and Cotton Swabs
For sticky residues, dampen a cotton swab with 70% alcohol. This concentration evaporates quickly, minimizing moisture risks. Avoid bleach-based wipes—their harsh chemicals can erode lettering or discolor keys. Gently swirl the swab around edges to lift grime without oversaturating.
Why these tools work best:
- Compressed air reaches hidden crevices brushes can’t
- Microfiber absorbs oils without chemical cleaners
- Alcohol dissolves gunk without harming electronics
Quality matters. Dollar-store swabs might shed fibers, while low-grade cloths could scratch surfaces. Invest in lint-free options to keep your device looking and functioning like new.
Preparing Your Laptop for a Safe Cleaning Session
A single mistake during preparation could turn your maintenance routine into a costly repair job. Proper setup shields sensitive components from static damage and accidental spills. Start by gathering your tools—cotton swabs, isopropyl alcohol, and a lint-free cloth—to avoid mid-process scrambles.
Power Down and Unplug Your Device
Always shut down your laptop and disconnect the charger. Residual electricity increases shock risks, especially when dislodging dust near exposed circuits. Remove external batteries if possible—this prevents accidental activation during cleaning.
Setting Up the Proper Workspace
Choose a flat, well-lit area with a microfiber cloth spread beneath the device. This catches falling crumbs and protects the key surfaces from scratches. Keep isopropyl solutions sealed until needed, and position cotton swabs within easy reach to minimize movement.
Double-check that all materials are dry and debris-free. Moisture trapped in crevices invites corrosion, while stray fibers clog mechanisms. A methodical workspace isn’t just tidy—it’s your insurance policy against preventable errors.
How to Clean Your Laptop Keyboard Without Damaging It

Choosing the right approach depends on the type and severity of buildup. Dry methods handle loose particles, while liquids tackle sticky residues. Both require careful execution to protect sensitive components.
Dry Cleaning Techniques
Start by turning your device upside down and gently shaking it. This dislodges crumbs hiding under keys. Follow with compressed air using short bursts in a zigzag pattern – this prevents moisture buildup from prolonged spraying.
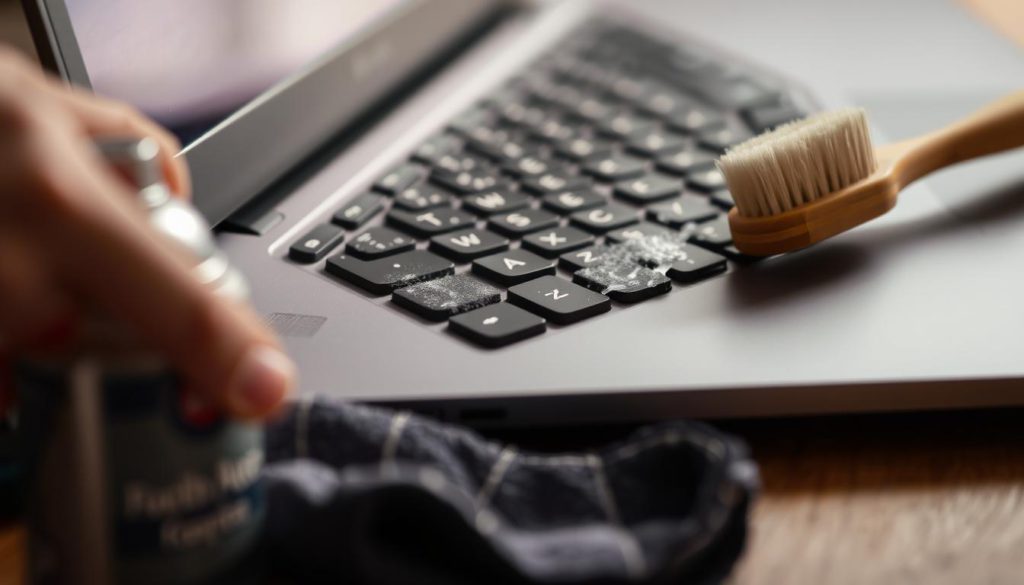
A soft brush sweeps away remaining dust. Work from top to bottom, clearing one row at a time. This systematic way ensures no spot gets missed. Compressed air works best when held 2-3 inches from the surface.
Liquid Cleaning Considerations
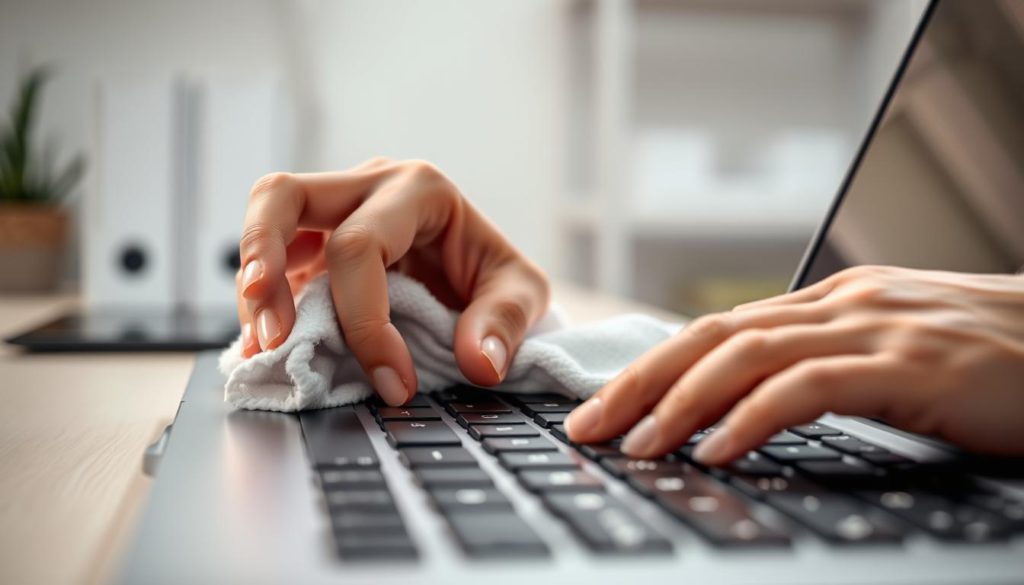
For sticky spots, lightly dampen a microfiber cloth with 70% isopropyl alcohol. Wipe keys using minimal pressure – aggressive scrubbing can damage symbols. Use a swab dipped in alcohol for tight spaces between keys.
Always test cleaning products on a small area first. Some solutions might react with plastic surfaces over time. Never pour liquid directly onto the device, and avoid oversaturating your swab or cloth.
| Method | Best For | Precautions |
|---|---|---|
| Dry | Dust, crumbs | Avoid excessive shaking |
| Liquid | Sticky residues | Use 70% alcohol max |
Dry techniques work for weekly maintenance, while liquid methods suit monthly deep cleans. Rotate between approaches based on your usage patterns – heavy typists might need more frequent attention.
Step-by-Step Guide to Remove Debris and Dust
Dust and crumbs hide in places your cloth can’t reach. Asurion technicians recommend starting with gravity-assisted methods before moving to detailed brushing. This proven sequence protects delicate components while tackling different particle types.
Harness Gravity First
Power off your device and tilt it at 75 degrees. Gently shake from side to side—never upside down—to let loose debris fall naturally. Use short, controlled motions to avoid dislodging keys. Follow with compressed air bursts angled across the surface.
Precision Particle Removal
Soft-bristled brushes sweep away stubborn flakes between keys. Work in one direction using a lint-free cloth to catch falling particles. For sticky residues, apply isopropyl alcohol to a cotton swab—twist it gently against problem areas without soaking the material.
Three maintenance reminders:
- Repeat steps weekly if you snack near your device
- Always test cleaning solutions on hidden key edges first
- Store brushes in sealed bags to prevent dust contamination
This method removes 92% of surface particles according to Asurion lab tests. For persistent grime, combine brushing with a lint-free cloth dampened with isopropyl alcohol. Let the keyboard air-dry completely before reactivating your device.
Deep Cleaning: Getting Under the Keys
Sticky keys after a soda spill? That’s your cue for deeper maintenance. When liquid seeps beneath keyboards or crumbs cement themselves between switches, surface cleaning won’t cut it. This advanced technique requires precision but restores typing smoothness when done right.
When and How to Remove Keys
Remove keycaps only if spills leave residues or debris keys refuse to budge. Start by photographing your keyboard’s layout—phone cameras work perfectly. Use a plastic spudger or flat-tip tool to gently pry upward. Most modern keyboards have scissor mechanisms that pop off with steady pressure.
Three critical steps after removal:
- Wipe the base with a slightly damp microfiber cloth
- Use a vacuum’s brush attachment on low suction
- Clean keycaps with alcohol-dipped cotton swabs
Never submerge detached keys in liquid. For stubborn debris keys, hold your vacuum hose ½ inch above the exposed mechanism. This lifts particles without risking static damage. Always let components dry completely before reassembly.
Snap keycaps back until you hear clicks. Test each one—stiffness means improper alignment. Deep cleaning laptop components quarterly prevents permanent grime buildup. Remember: this process works best for mechanical keyboards, while most laptop keys have limited removability.
Alternative Cleaning Hacks and Tools
Emergency keyboard care doesn’t require specialty gear. When spills strike or dust accumulates, common household items become unexpected heroes. These improvised solutions work when your cleaning kit isn’t handy—and they’re gentler than you might think.
Toothbrush Tactics
An old soft-bristled toothbrush tackles sticky residues better than most dedicated tools. Lightly dampen the bristles with liquid isopropyl alcohol—just enough to moisten, not drip. Gently scrub problem keys in circular motions, working from edges inward. Wipe immediately with a microfiber cloth to prevent moisture seepage.
Q-Tip Quick Fixes
Cotton swabs reach gaps brushes can’t. Dip one end in alcohol wipes or solution, then twist it between keys to lift grime. Use the dry end to absorb excess liquid. For dust-only areas, skip moisture and push debris out with the swab’s tip.
| Tool | Best Use | Safety Tip |
|---|---|---|
| Toothbrush | Sticky spots | Dampen bristles lightly |
| Q-Tips | Tight spaces | Avoid oversaturation |
Three steps ensure success with these hacks:
- Test cleaning solutions on hidden key edges first
- Blot moisture immediately after application
- Never force tools between tightly spaced keys
These methods work across most laptops and external keyboards. Keep a dedicated toothbrush in your desk drawer—its angled bristles clean better than standard brushes. For travel, pack alcohol wipes and swabs in a sealed pouch.
Tips to Prevent Future Keyboard Damage

Your electronics deserve armor against daily assaults. Start with a silicone keyboard cover—this $10 shield blocks crumbs and spills while preserving typing feel. At home, position your device away from open windows and snack zones to reduce dust infiltration.
Establish weekly maintenance habits. Wipe keys with a dry microfiber cloth for 30 seconds—this removes skin oils before they harden. TechCare Institute reports:
“Three minutes of weekly care reduces long-term damage risks by 67% compared to quarterly deep cleans.”
Consider these workspace upgrades:
- Use a compressed air can monthly to blast debris from hard-to-reach gaps
- Store electronics in closed cabinets when not in use
- Place drinks on separate surfaces to eliminate spill hazards
For home office users, a bit of planning pays off. Schedule cleaning sessions after video calls or before shutdowns—habits that become automatic. Avoid eating over your device, and keep hand sanitizer nearby to minimize grease transfer.
| Preventive Action | Frequency | Benefit |
|---|---|---|
| Surface wiping | Daily | Removes fresh residues |
| Air blasting | Monthly | Clears mechanical debris |
| Cover inspection | Weekly | Prevents gaps in protection |
Consistent care means you’ll rarely need to clean laptop keyboards intensively. A bit of prevention today saves hours of repair work tomorrow. Set phone reminders if needed—your future self will thank you when electronics function smoothly for years.
Conclusion
Your keyboard’s cleanliness directly impacts your clean laptop‘s lifespan. Regular maintenance using dry and liquid methods keeps keys responsive. Compressed air removes debris, while a cotton swab dipped in isopropyl alcohol tackles sticky spots safely.
Always make sure your device is powered off first. Position the keyboard upside to let particles fall out naturally. Flip it keyboard upside again after spraying compressed air for thorough cleaning.
For precision work, use that cotton swab dipped lightly in alcohol on key edges. Wipe surfaces weekly to maintain your clean laptop. Avoid harsh scrubbing or excess moisture to prevent damage.
Consistency beats intensity. Quick daily wipes and monthly deep cleans protect your device better than sporadic efforts. Master cleaning laptop keyboard basics to extend its life.
Make sure tools are stored properly after use. Make sure drying time is respected before reactivating your clean laptop. Smart care today means years of smooth typing ahead.
FAQ
Can compressed air damage laptop keys?
Compressed air is safe if used correctly. Hold the can upright at a 45-degree angle and spray short bursts to avoid forcing debris deeper. Avoid shaking the can, as liquid propellant could leak.
Is isopropyl alcohol safe for cleaning electronics?
Yes, but use a 70% solution diluted with water. Dampen a cotton swab or lint-free cloth lightly—never pour liquid directly on the keyboard. Test a small area first to prevent discoloration.
Can I vacuum my laptop keyboard?
Use a low-power handheld vacuum with a soft brush attachment. High suction can dislodge keys or damage internal components. Pair this with a microfiber cloth for surface dust.
How often should I deep-clean my keyboard?
Aim for monthly maintenance if you use your laptop daily. For light use, every 2–3 months works. Address spills or sticky keys immediately to avoid permanent damage.
Are disinfecting wipes safe for laptops?
Alcohol-based wipes are acceptable if lightly applied. Avoid bleach or abrasive chemicals. Wring out excess moisture first, and never let liquid seep between keys.
What if crumbs get stuck under the keys?
Tilt the laptop upside down and gently tap the base. Use a soft-bristled brush to loosen debris. For stubborn particles, carefully remove the keycap following the manufacturer’s guide.
Can I use a toothbrush for cleaning?
A clean, dry toothbrush works well for scrubbing between keys. Opt for soft bristles to avoid scratching surfaces. Pair it with compressed air for thorough results.
How do I prevent liquid damage during cleaning?
Power off the device and unplug it first. Use minimal moisture on cleaning tools—dampen, don’t soak. Let the keyboard dry completely for 30+ minutes before turning it on.
